A Beginner's Guide to Setting Up a Low-Tech Planted Aquarium
If you've spent any time on Instagram or Pinterest, you've seen them: breathtaking underwater landscapes with vibrant carpets of green and lush, colourful plants. A quick search, however, can lead you down a rabbit hole of CO2 injection, high-powered lighting, and complex fertilizer schedules. It’s enough to make any beginner feel like a beautiful planted tank is out of reach.
But what if you could have that stunning underwater garden without all the complicated and expensive gear?
You absolutely can. Welcome to the world of the "low-tech" planted tank. It’s a simpler, more natural, and deeply rewarding approach that is perfect for beginners and anyone looking for a beautiful, low-maintenance aquarium.
What Exactly is a "Low-Tech" Planted Tank?
The low-tech method, sometimes called the Walstad method, is all about creating a balanced, self-sustaining ecosystem that relies on nature, not technology, to thrive.
The Low-Tech Philosophy: Slower, more stable growth with less equipment, less maintenance, and dramatically less chance of algae. It's a journey in patience, not a race to the finish line.
The core principles are:
- No CO2 Injection: Plants get their carbon naturally from the waste produced by your shrimp and snails.
- Lower-Power Lighting: We use less intense light. This means plants grow more slowly, but it is the number one secret to preventing frustrating algae outbreaks.
- Minimal Fertilization: The plants are fed primarily by a nutrient-rich substrate and the bioload of the tank's inhabitants.
Your Low-Tech Shopping List (The Fun Part!)
- The Tank: A 10-gallon or 20-gallon "long" tank is a perfect starting size—large enough to be stable, but small enough to be manageable.
- Substrate: A nutrient-rich "aqua soil" like Fluval Stratum or CaribSea Eco-Complete is the best choice, as it will act as a pantry of food for your plants' roots. Plan for a 1.5 to 2-inch layer.
- Lighting: You don't need a light that mimics the surface of the sun, but you need one designed for plants. A simple, full-spectrum LED light is perfect. The most important tool here is a simple outlet timer. Set it for 7-8 hours a day and never touch it again. Consistency is your greatest weapon against algae.
- Filter: Gentle filtration is key. A simple sponge filter driven by an air pump is a fantastic, inexpensive, and shrimp-safe choice. A small hang-on-back filter with a pre-filter sponge over the intake also works perfectly.
- Heater: Stability is crucial for plants and animals. A small heater will keep the water at a stable tropical temperature, typically around 72-78°F (22-26°C).
- "Easy" Plants: This is where the magic happens! Choosing the right plants is the key to success.
The Best Plants for a Low-Tech Tank
Stick with these bulletproof beginner plants, and you're virtually guaranteed success.
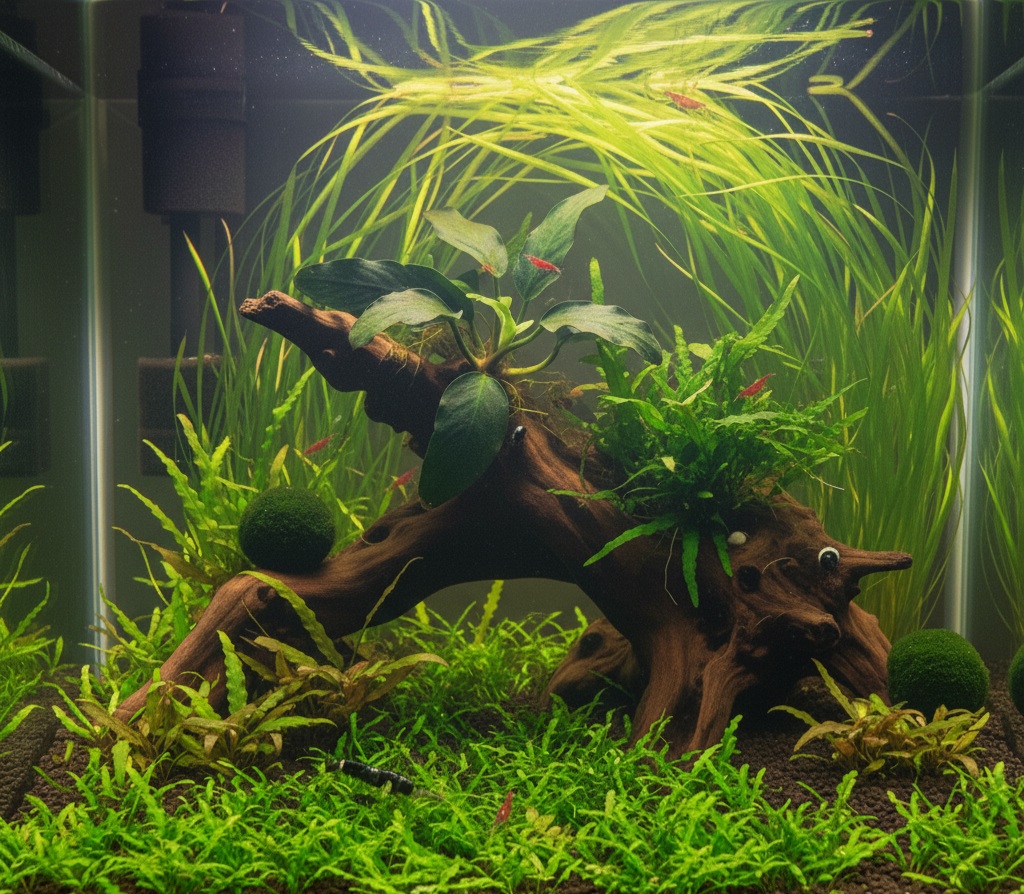
- Anubias (especially Anubias Nana): A dark green, broad-leafed plant that you attach to rocks or driftwood. It's practically indestructible.
- Java Fern: Another icon of the low-tech world. Like Anubias, its rhizome (the thick green root) must be attached to hardscape, not buried.
- Cryptocoryne (especially Wendtii, Lutea, or Undulata): These are fantastic root-feeding plants that come in various shades of green, bronze, and brown. They will thrive in your aqua soil.
- Vallisneria: A tall, grass-like plant that creates a beautiful, flowing background curtain. It spreads by sending out runners.
- Marimo Moss Balls: A unique and charming ball of algae that requires virtually no care. Simply place it in the tank and enjoy.
Step-by-Step Setup Guide
Follow these steps to bring your tank to life.
- Rinse Your Gear: Gently rinse your substrate in a bucket (aqua soil can be dusty), and scrub your rocks and wood.
- Add Substrate & Hardscape: Carefully add your substrate, sloping it higher in the back for a sense of depth. Arrange your rocks and driftwood to create a layout you find pleasing.
- Planting Time: This is the fun part! Use tweezers or your fingers to plant your rooted plants (like Cryptocoryne) into the substrate. Attach your Anubias and Java Fern to the hardscape using a small dab of super glue gel or cotton thread.
- Install Equipment: Place your heater and filter in the tank, but don't plug them in yet.
- Fill the Tank: Place a small bowl on the substrate and pour water into it slowly. This prevents your beautiful layout from getting blasted apart.
- Turn Everything On: Plug in your filter, heater, and your light (which should be connected to your timer).
Common Low-Tech Mistakes to Avoid
Getting a few key details right will save you a lot of headaches. Avoid these common pitfalls:
- Too Much Light: The #1 mistake. In a low-tech tank, too much light (either too intense or on for too long) is a one-way ticket to an algae farm. Stick to 7-8 hours on your timer.
- Burying the Rhizome: As mentioned, burying the thick, root-like rhizome of an Anubias or Java Fern will cause the plant to rot and die. Always attach them to wood or rock.
- Forgetting to Cycle: A planted tank is still an aquarium. It must go through the Nitrogen Cycle to become a safe home for shrimp or fish. Be sure to follow our Ultimate Guide to Cycling an Aquarium before adding any animals.
- Impatience: The beauty of a low-tech tank is in its slow, steady evolution. Give it time to grow and mature.
The First Few Weeks
Don't be alarmed if your Cryptocorynes lose their leaves. This is a normal "melting" process as they adapt. The roots are fine, and they will grow new leaves soon. Perform a simple 25% water change once a week, and once your tank is cycled, you'll have a stable, beautiful, and thriving underwater garden.